
Spring Chicken
Roasted Chicken

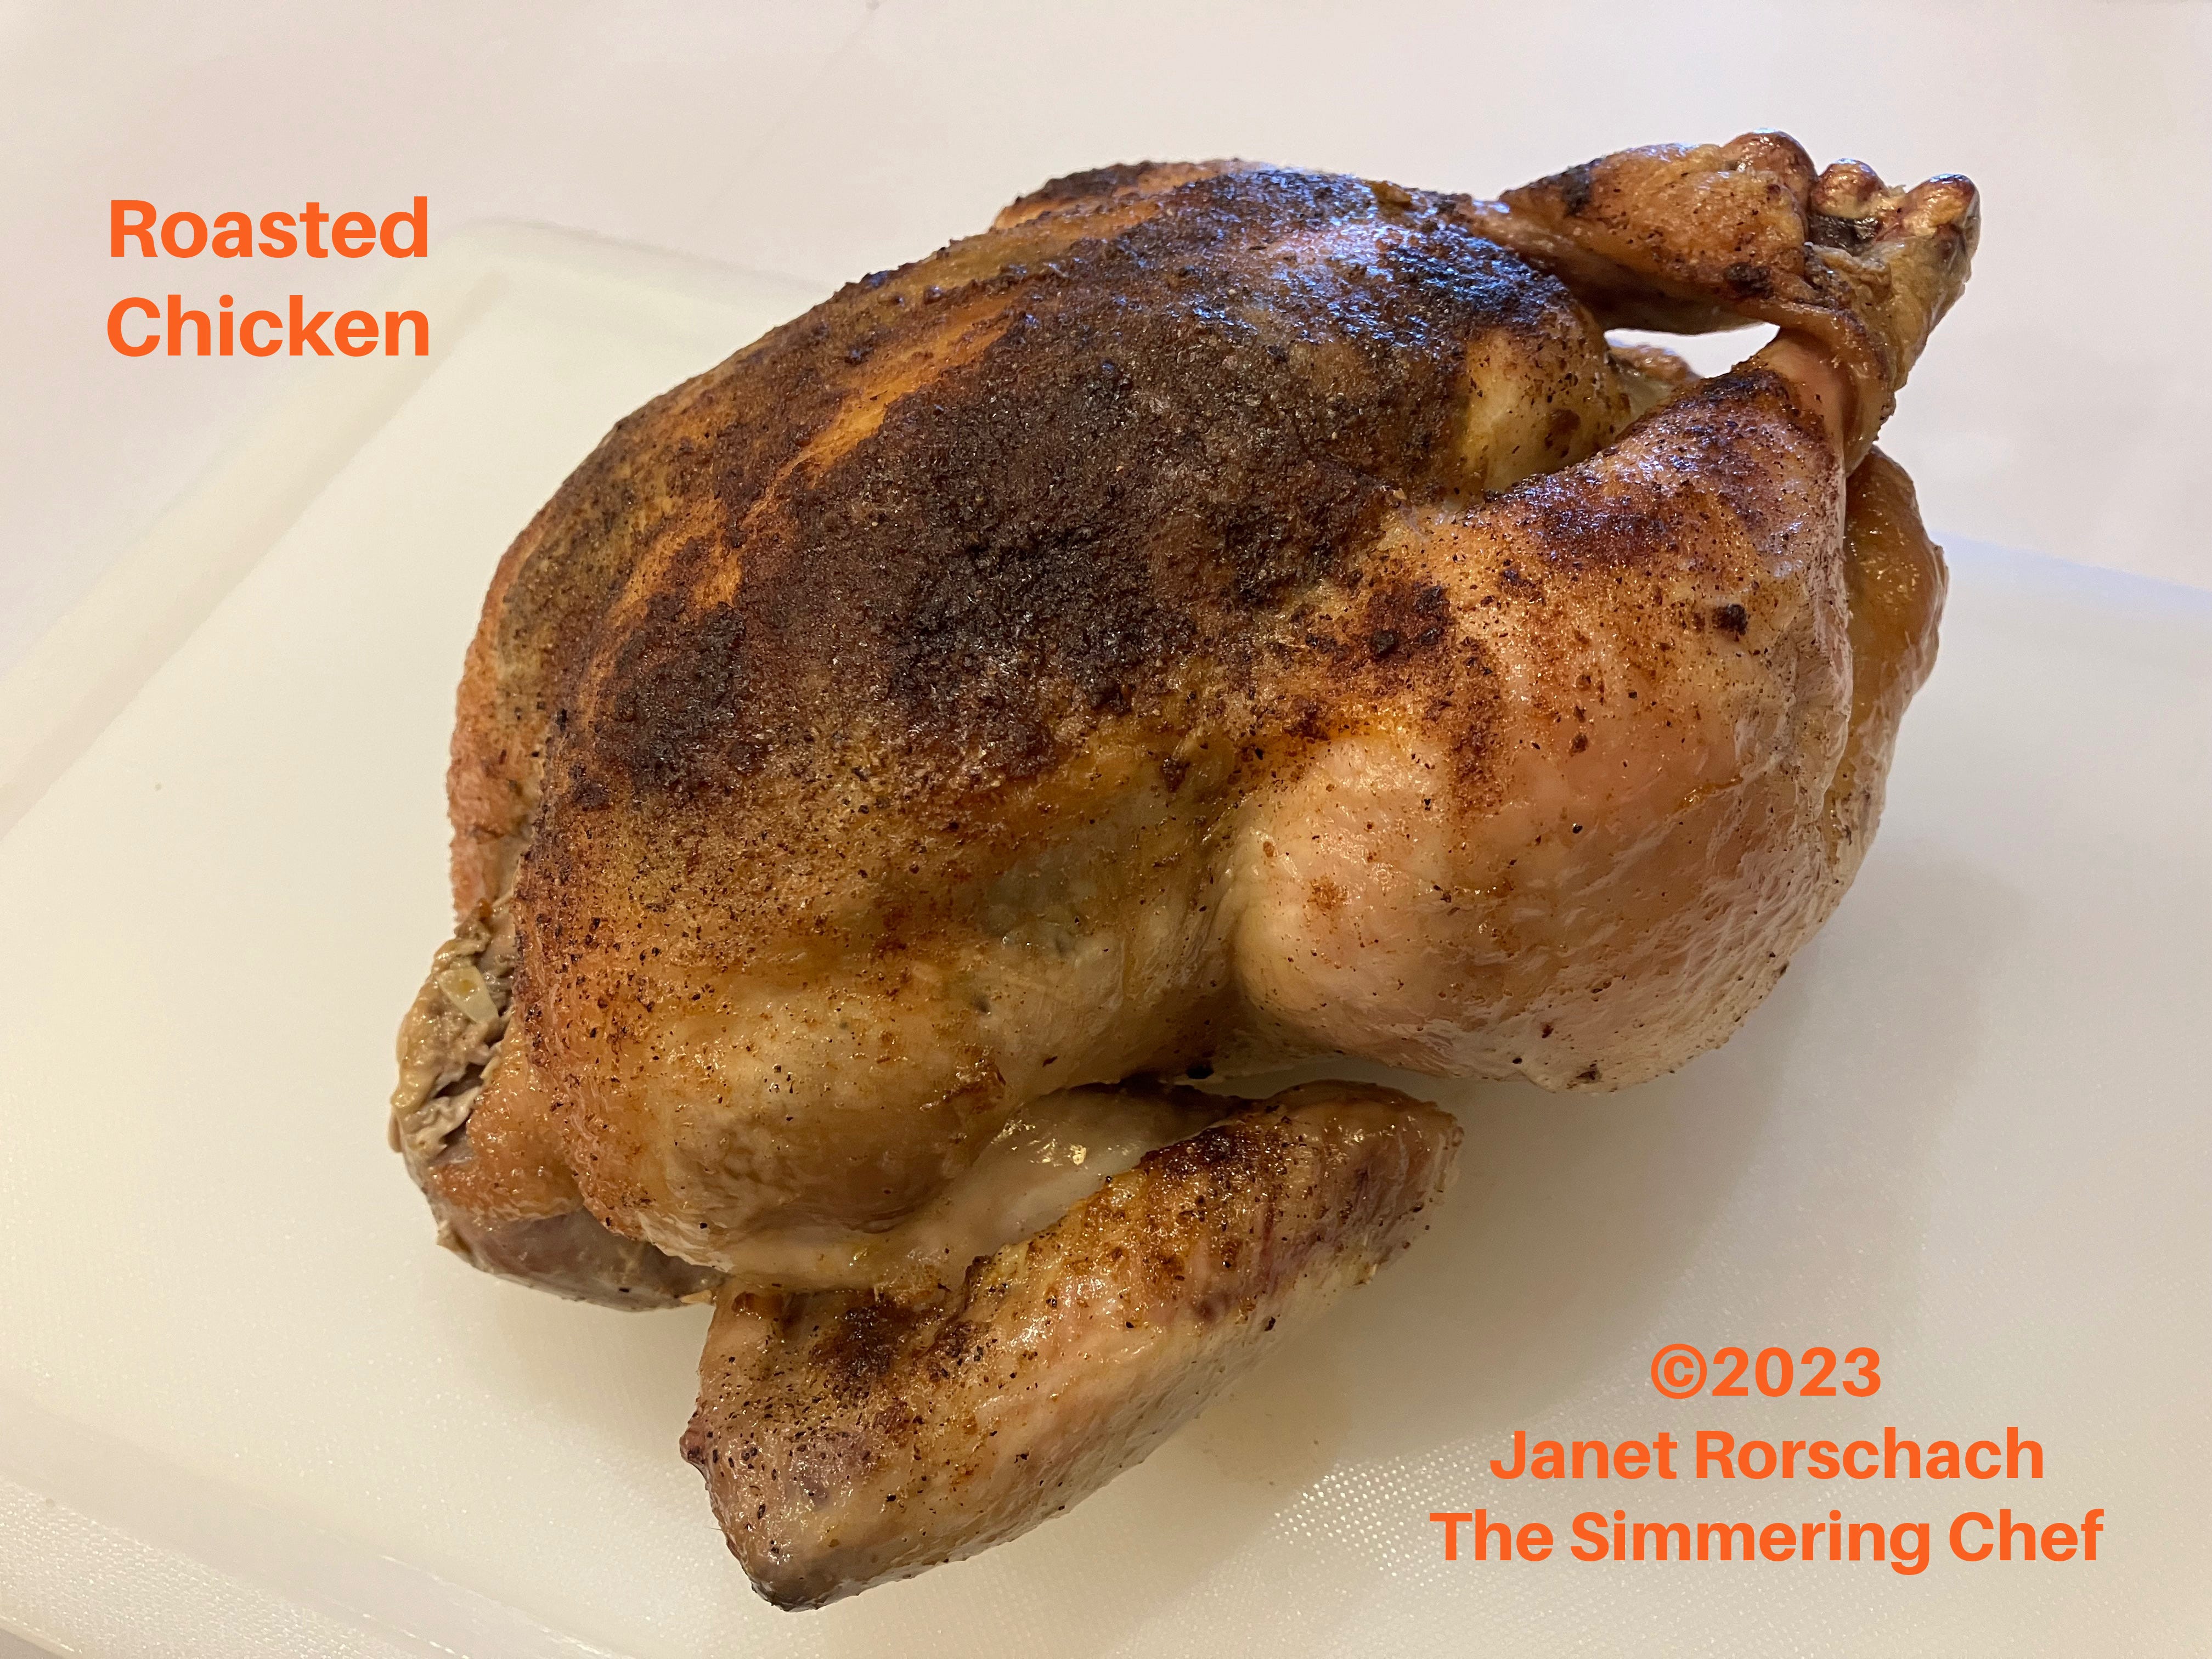
My maternal grandmother rode in a horse-drawn wagon and knew how to cook on a wood stove. Those weren’t her greatest feats, but simply mentioning those two evokes thoughts of a pioneer, braving the elements and making a living off the land, but she was more than those.
Highly moral, she made sure anyone who came to her back door during The Depression left with a bag holding a sandwich, a piece of homemade pie, and some sweet tea. No questions asked. She did that because she thought Matthew 25:40 was how one should live and nothing less. That alone makes her a fine person.
She was an excellent gardener, florist, and cook. She could nip into the cooking sherry upon occasion but preferred an Old Fashioned if she had her druthers. She lived well past one hundred and thought she went to her grave with all her secrets stowed deep within her. I wonder if my mom has set her down in the great beyond and asked her some pointed questions yet?
Of all the things my grandmother taught me, how to roast a chicken may be one of the greatest. Back in her day, chicken was seasonal. Fried chicken was a late spring and early summer treat; stewed chicken and dumplings for the fall when the rooster or hen was old, mean, and tough. A spring chicken was roasted because it was the tenderest.
Chickens are different today than what they were. Ours are breast-heavy, but the theory on how to roast one is still good. When roasting a chicken, one of the lessons is that it needs your attention. This isn’t a slam-it-into-the-oven-and-forget-about-it deal. It requires basting and turning and a bit of clucking over it.
To Wash or Not to Wash
The CDC recommends not washing your chicken before preparation to prevent germs from spreading all over your kitchen. However, I understand that there are cultures where washing the chicken is part of their process. As the CDC states, “If you choose to wash your chicken, do it as safely as possible.
Run the running water gently over the chicken to reduce splashing.
Then immediately clean the sink and the area around the sink with soapy water and sanitize thoroughly.
Wash your hands for 20 seconds.
In the instructions, you’ll notice I say, “Dry the chicken.” Wiping the chicken dry helps you to achieve that wonderful golden brown color you crave. Just so you know, drying is one of the chefs’ secrets.
Now, you could truss the chicken, but if you have the flap at the base, make a little incision and stick the bottom of the legs through to secure them. That flap will hold the legs and help keep a nice shape while the chicken roasts. That’s precisely what I did. If you don’t, Jacques Pépin’s method for trussing is the fastest I‘ve seen, so I suggest using his method.
Why truss?
It helps you achieve that glorious roast shape, makes carving more manageable, and helps prevent the breast from drying out. I know many people who don’t truss, and the chicken is splayed out all over the pan. By not trussing, they achieve that beautiful browning all over the skin, but I personally find the look weird. If you want browning all over the chicken skin, spatchcock it. It looks prettier when you display it on the platter or cutting board, and the skin is brown and crispy all over.
Why baste?
Flavor and browning are the two biggest reasons to baste. Also, you stay connected to the chicken during the cooking process. If you have a hot spot in your oven, you can move and turn that chicken around to get a beautiful brown lacquer.
A friend of mine swears that basting with apple cider vinegar adds a ton of flavor and browning. I tried it and was none too happy to have to deep clean the oven afterward. Remember, the natural outcome is splatter when you add a liquid to hot fat.
A FLAVORFUL ROASTED CHICKEN
INGREDIENTS
1 (3 to 5) pound whole chicken
Salt and pepper
½ onion, peeled and cut in half
½ apple, seeds removed and cut in half, or ½ an orange, halved
½ stick of celery, quartered
1 to 3 garlic cloves, left unpeeled
4 Tablespoons softened unsalted butter
¼ teaspoon each of chopped fresh or dried herbs, such as thyme, rosemary, and parsley
¼ teaspoon of paprika or smokey pimetón, optional
OTHER ITEMS
Butcher’s Twine
A roasting rack or foil scrunched up and made into a donut shape.
A meat thermometer, or calibrated if using a dial thermometer
METHOD
Preheat your oven to 325°F.
Place the roasting rack or foil donut* into the roasting pan or cast iron skillet.
If your chicken has the giblets, remove them. You can use them to make gravy.
If you are washing your chicken, do so now, and please do it gently and refrain from splashing water all over your kitchen.
Dry the chicken well.
Remove the wishbone.
Season inside the carcass cavity with salt and pepper.
Stuff the cavity with the onion, apple or orange, celery, and garlic.
Truss the chicken or use the flap to secure the legs.
Mix the fresh or dried herbs and paprika with ½ teaspoon salt and a pinch of pepper in a small bowl.
With your finger, gently release the skin from the breast. Try not to tear it.
Under the skin of each breast, stuff it with the butter mixture, trying not to tear it.
Place the chicken on the rack or foil soccle.
Wash your hands thoroughly.
Place the chicken in the preheated oven.
Set your timer for 30 minutes.
Clean and sanitize your kitchen.
When the timer goes off, baste your chicken with its juices.
Set your timer now for twenty minutes, and then baste.
You will set your timer and baste every twenty minutes until your chicken is done. You may not have enough of the pan juices, and that’s ok. You can add a little olive oil to help continue the basting.
Cooking could take up to 3 hours.
There are several ways to know that your chicken is done without using a thermometer.
The skin is pulling away from the leg bones.
The skin is a deep golden brown.
When you tip the cavity down over the pan, the juices run out and look clear.
However, if you need to poke a thermometer in, stick it in the thickest part of the thigh. Your goal is to hit 165°F.
Once the chicken is cooked, remove it from the oven.
Let the chicken rest for at least 20 minutes before carving.
Use the pan juices to make a delicious gravy.
* Called a soccle, take a long piece of foil, crunch it up lengthwise, then twist it into a donut shape. It’s an alternative way to roast meats and poultry when you don’t own a rack.
Growing up (in the UK) post WWII chicken was a luxury and full of flavour, it's what we had for Christmas lunch, turkey usually being too expensive. From time to time we would have a really fresh bird that needed plucking, not a pleasant task really, and then it needed drawing. The innards of a chicken were actually very interesting.
Many years back (in the 1980s) we sourced meat from a company in the SW of England and the flavour of their chickens reminded me of childhood. Unfortunately not enough people used the company's services and it is no more. Now, even"free range" supermarket chicken or chicken from a butcher does not quite have that flavour so adding herbs and such is needed.
I thought that everyone tucked the legs. To find a chicken with giblets is a rare thing these days.. An apple to keep the flesh moist is supposedly a good idea. The last chicken we had (last weekend) was roasted on a bed of vegetables: carrot, parsnip, celery, squash, with fresh herbs. The vegetables, along with the carcass, went into the stock that was turned into today's chicken (and vegetable) soup.
How did my mother and grandmother... and my mother in law manage without a thermometer?
Sounds like we do our chicken similarly.
Question: Why remove the wishbone? And is there a way to do so properly?